Blog
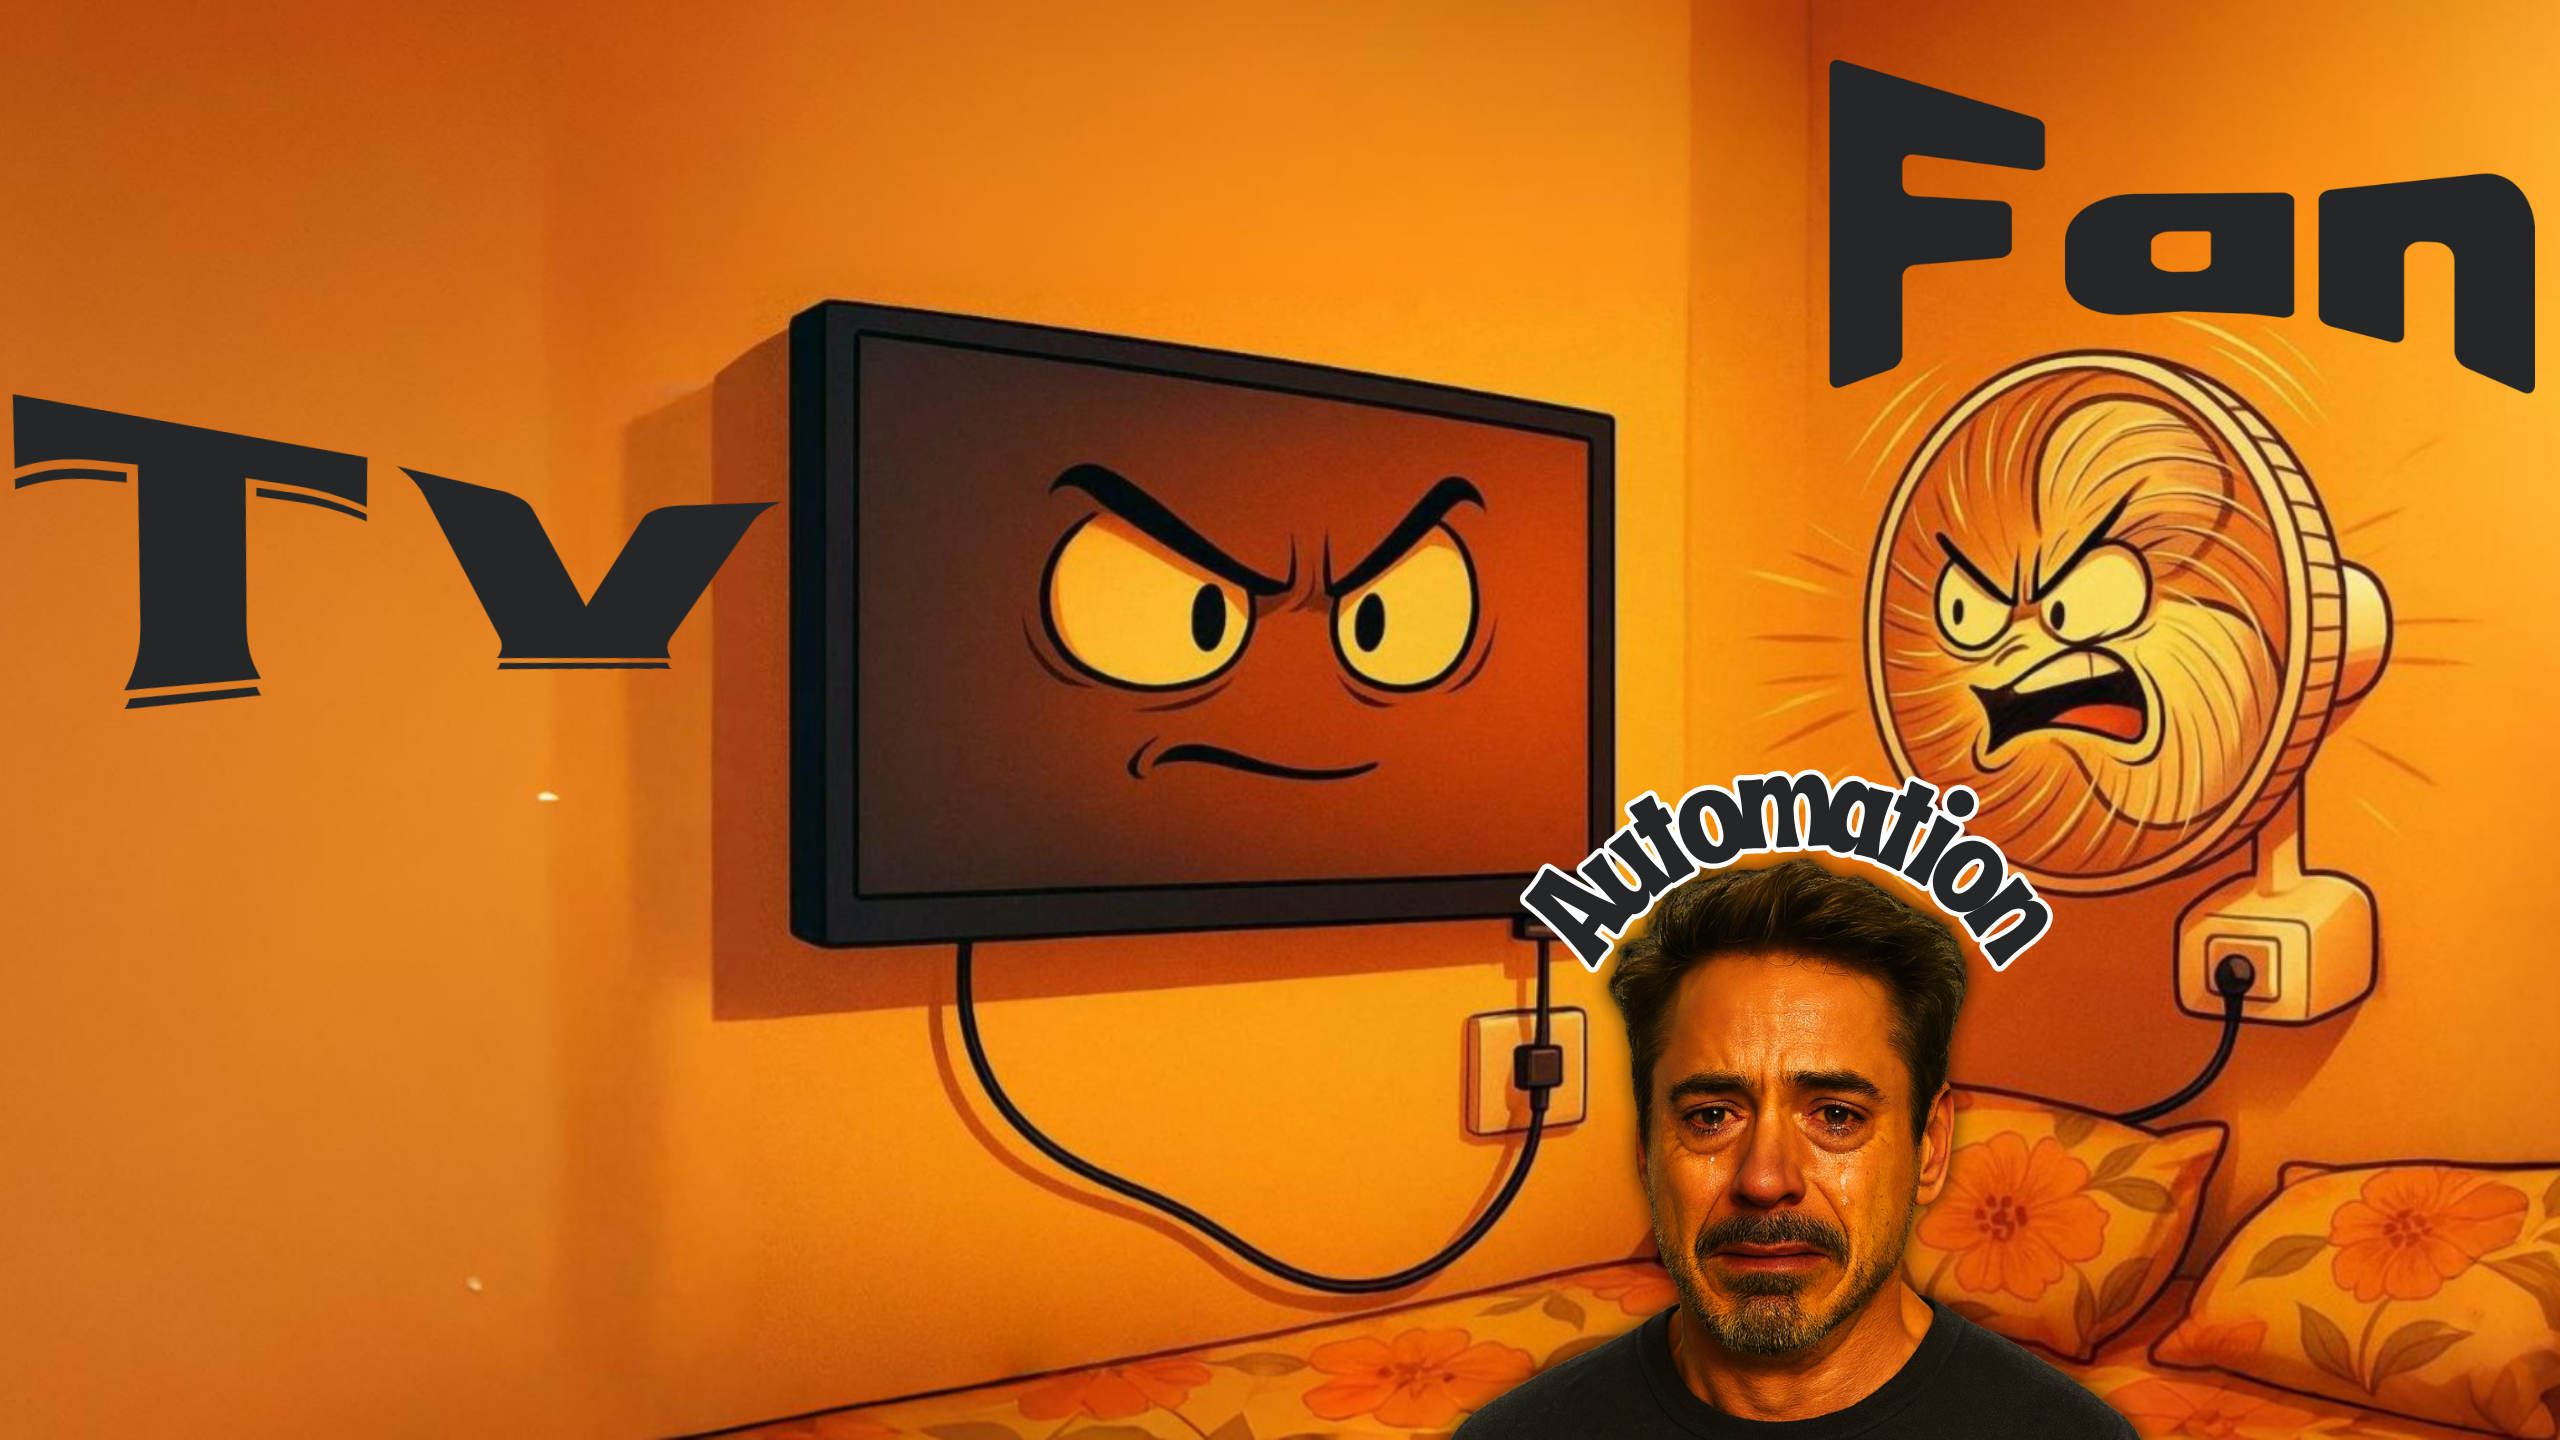
How I Automated Wall Fan With My TV Using Arduino Uno
Posted on June 21, 2025 (Last modified on June 25, 2025) • 4 min read • 801 wordsTV On = Fan On. How? Click here to know.
Introduction
Hi, I’m Yash Narang, and this is how I spent 8 hours making my TV automatically turn on my wall fan. Because apparently, reaching 3 feet for a switch was too much effort.
Want to build this yourself? Skip to the “DIY Guide” section for the technical details.
The Problem I Created
I didn’t actually have a problem. My fan switch is right there. But I had a weekend, a clone Arduino, and what my mom calls “too much free time.”
So I decided my TV’s indicator LED should control my fan. Why? Because normal solutions are boring.
The Solution
The plan was simple:
- LDR sensor watches my TV’s indicator light
- Arduino processes the data
- Servo motor clicks my fan switch
- Peak unnecessary automation achieved
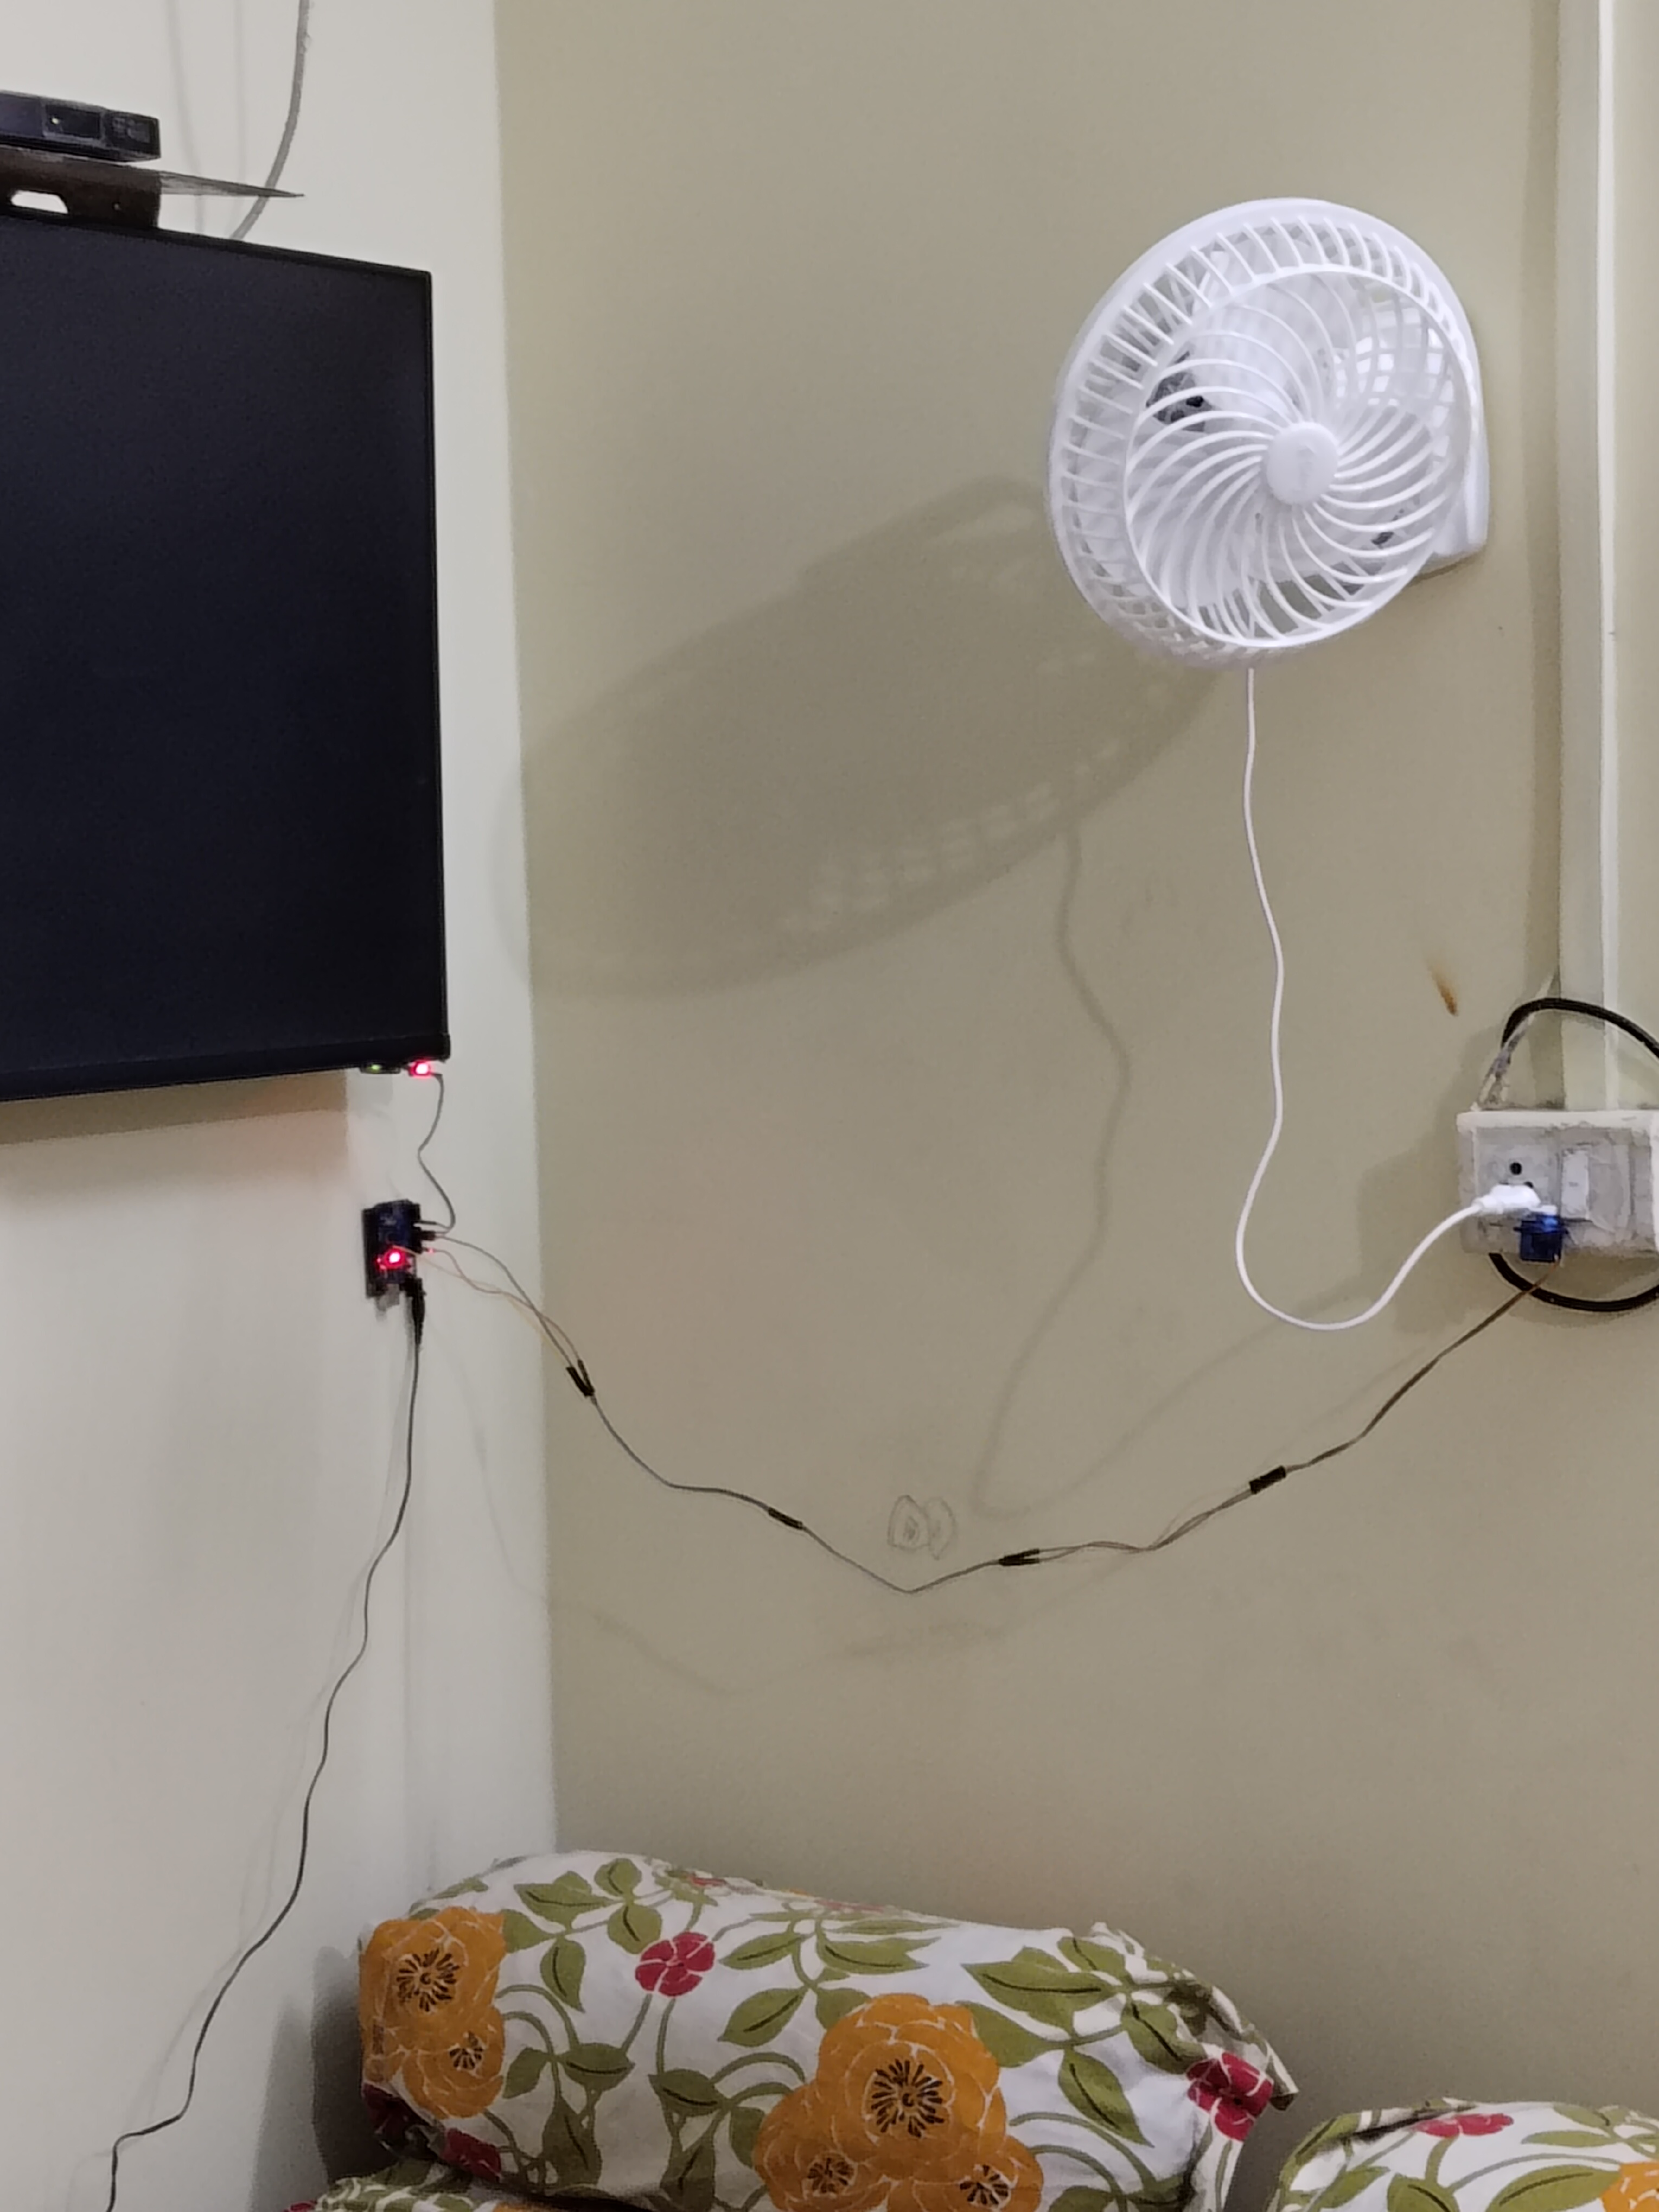
Hardware Setup
Components:
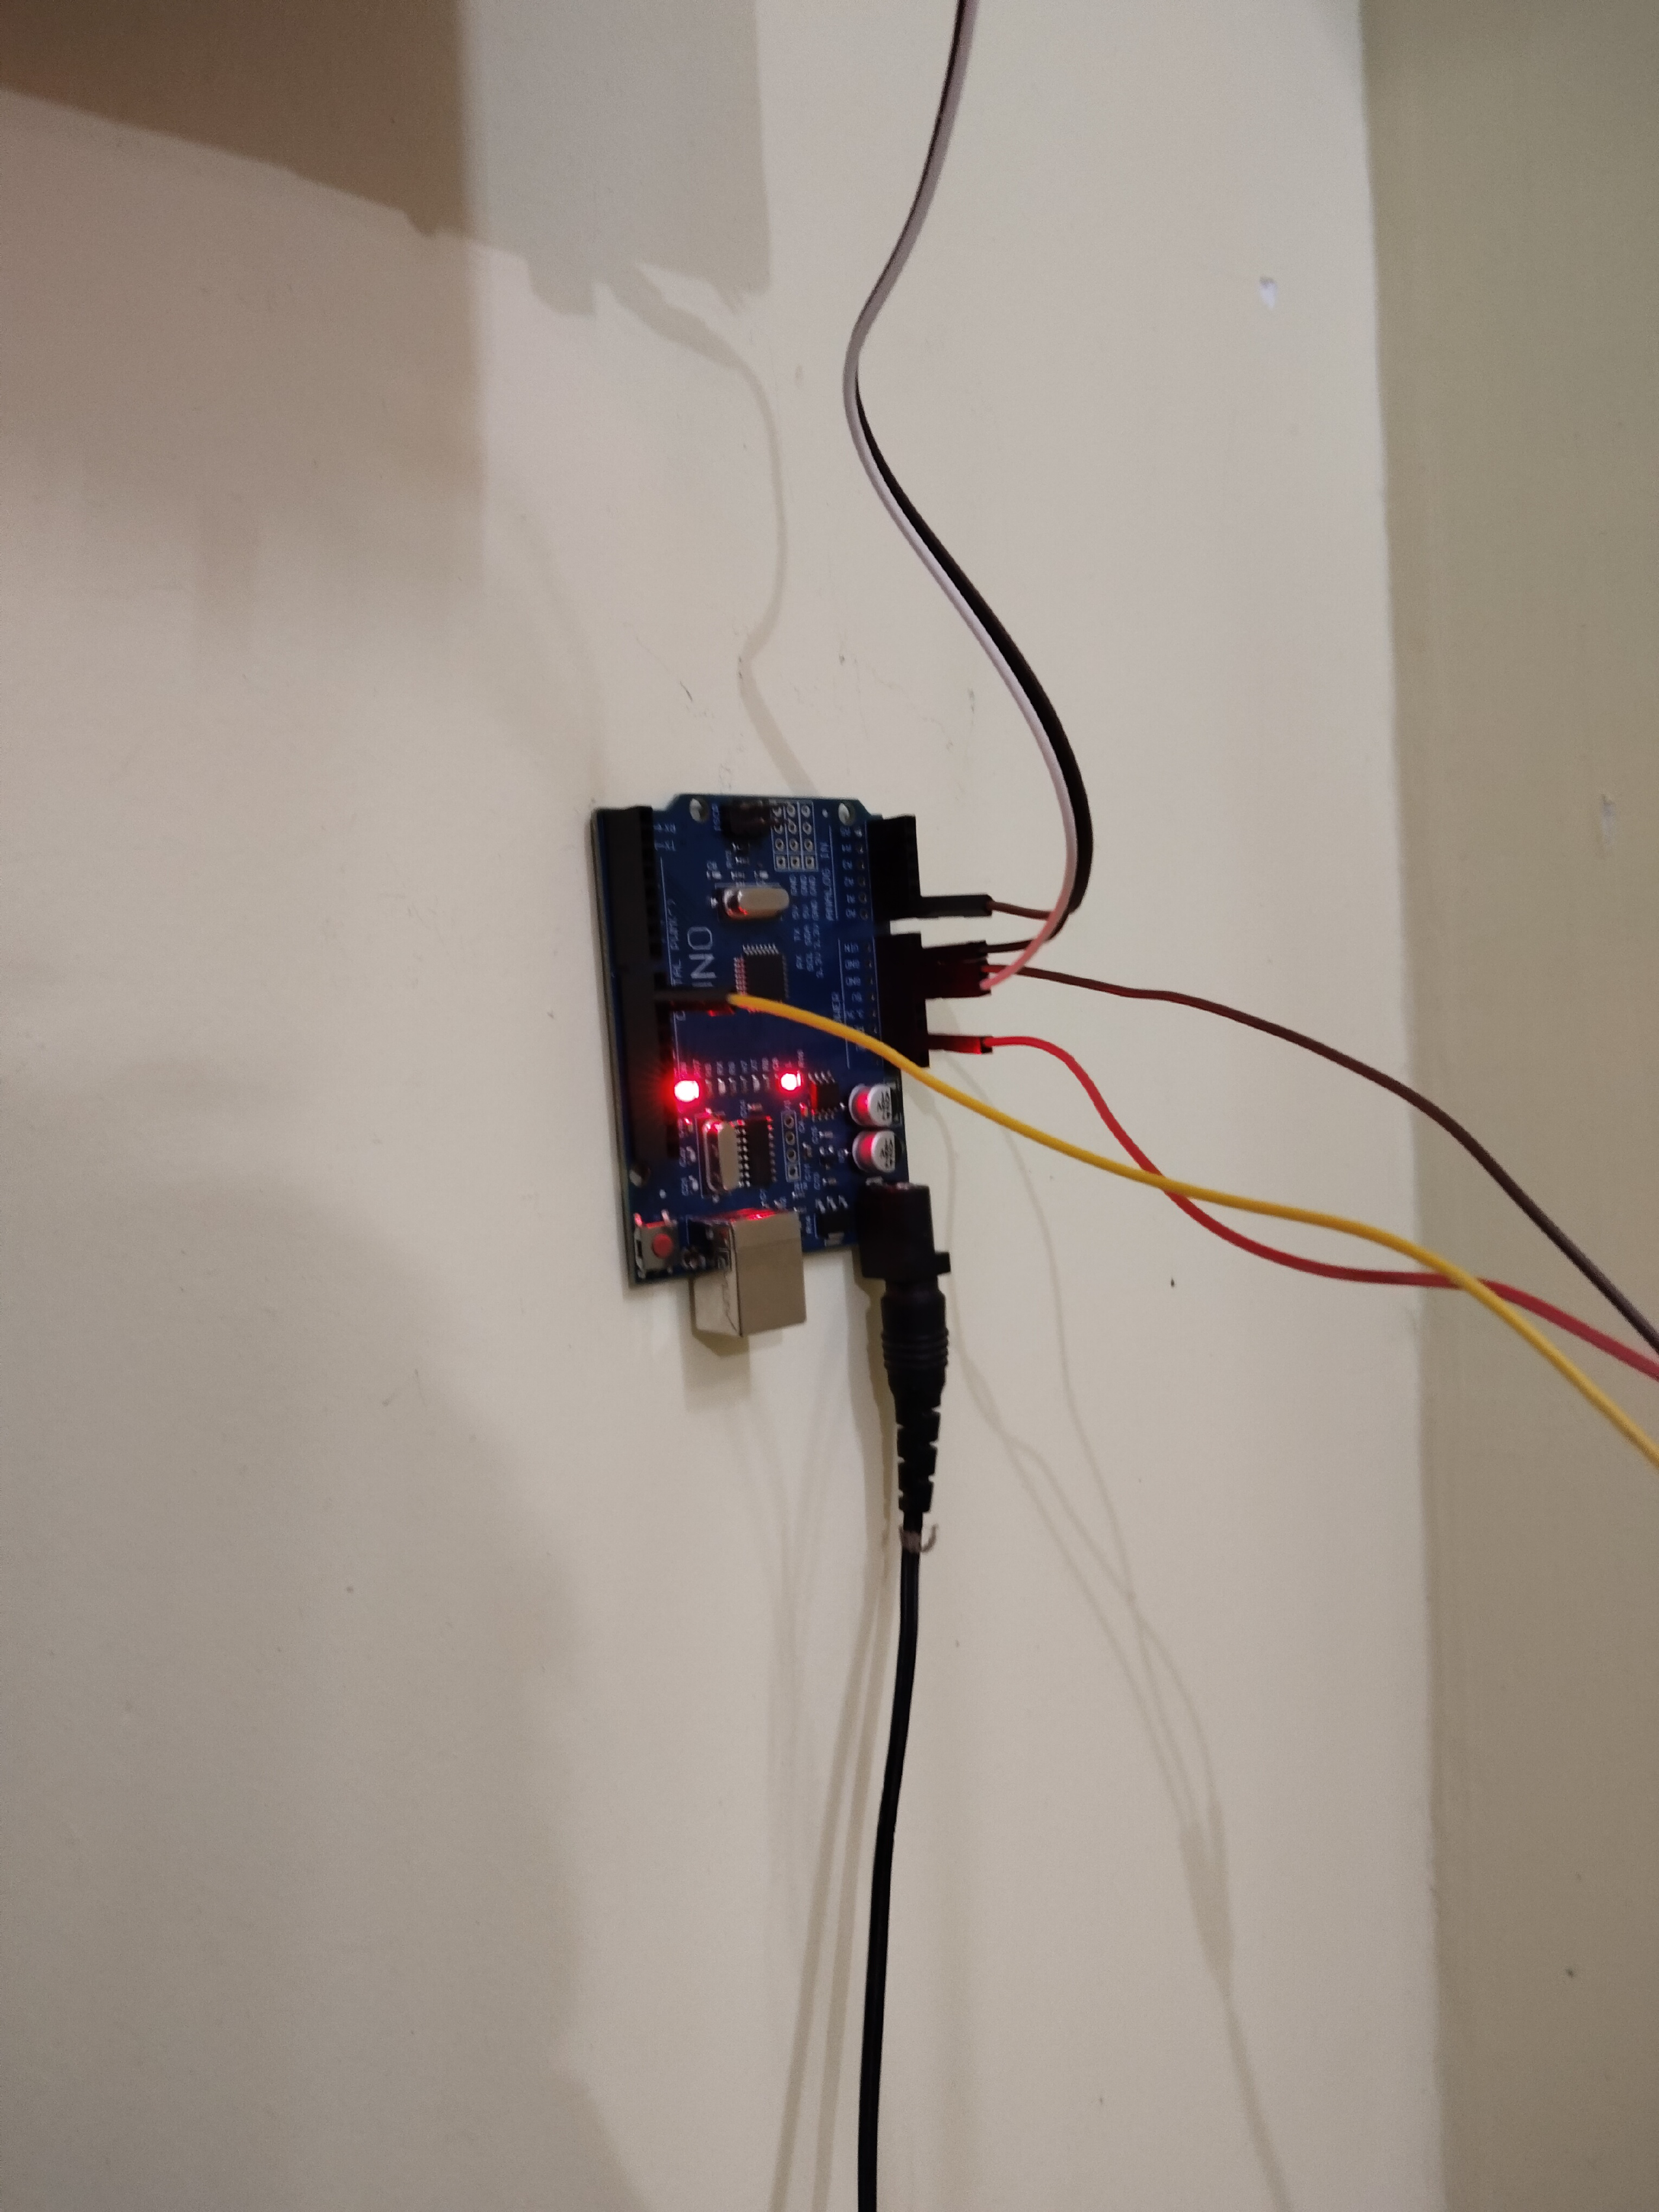
- Clone Arduino Uno (works 90% as well for 30% of the price)
- LDR + 10kΩ resistor
- SG90 Servo Motor
- Jumper wires and double-sided tape (the engineering solution to everything)
Setup:
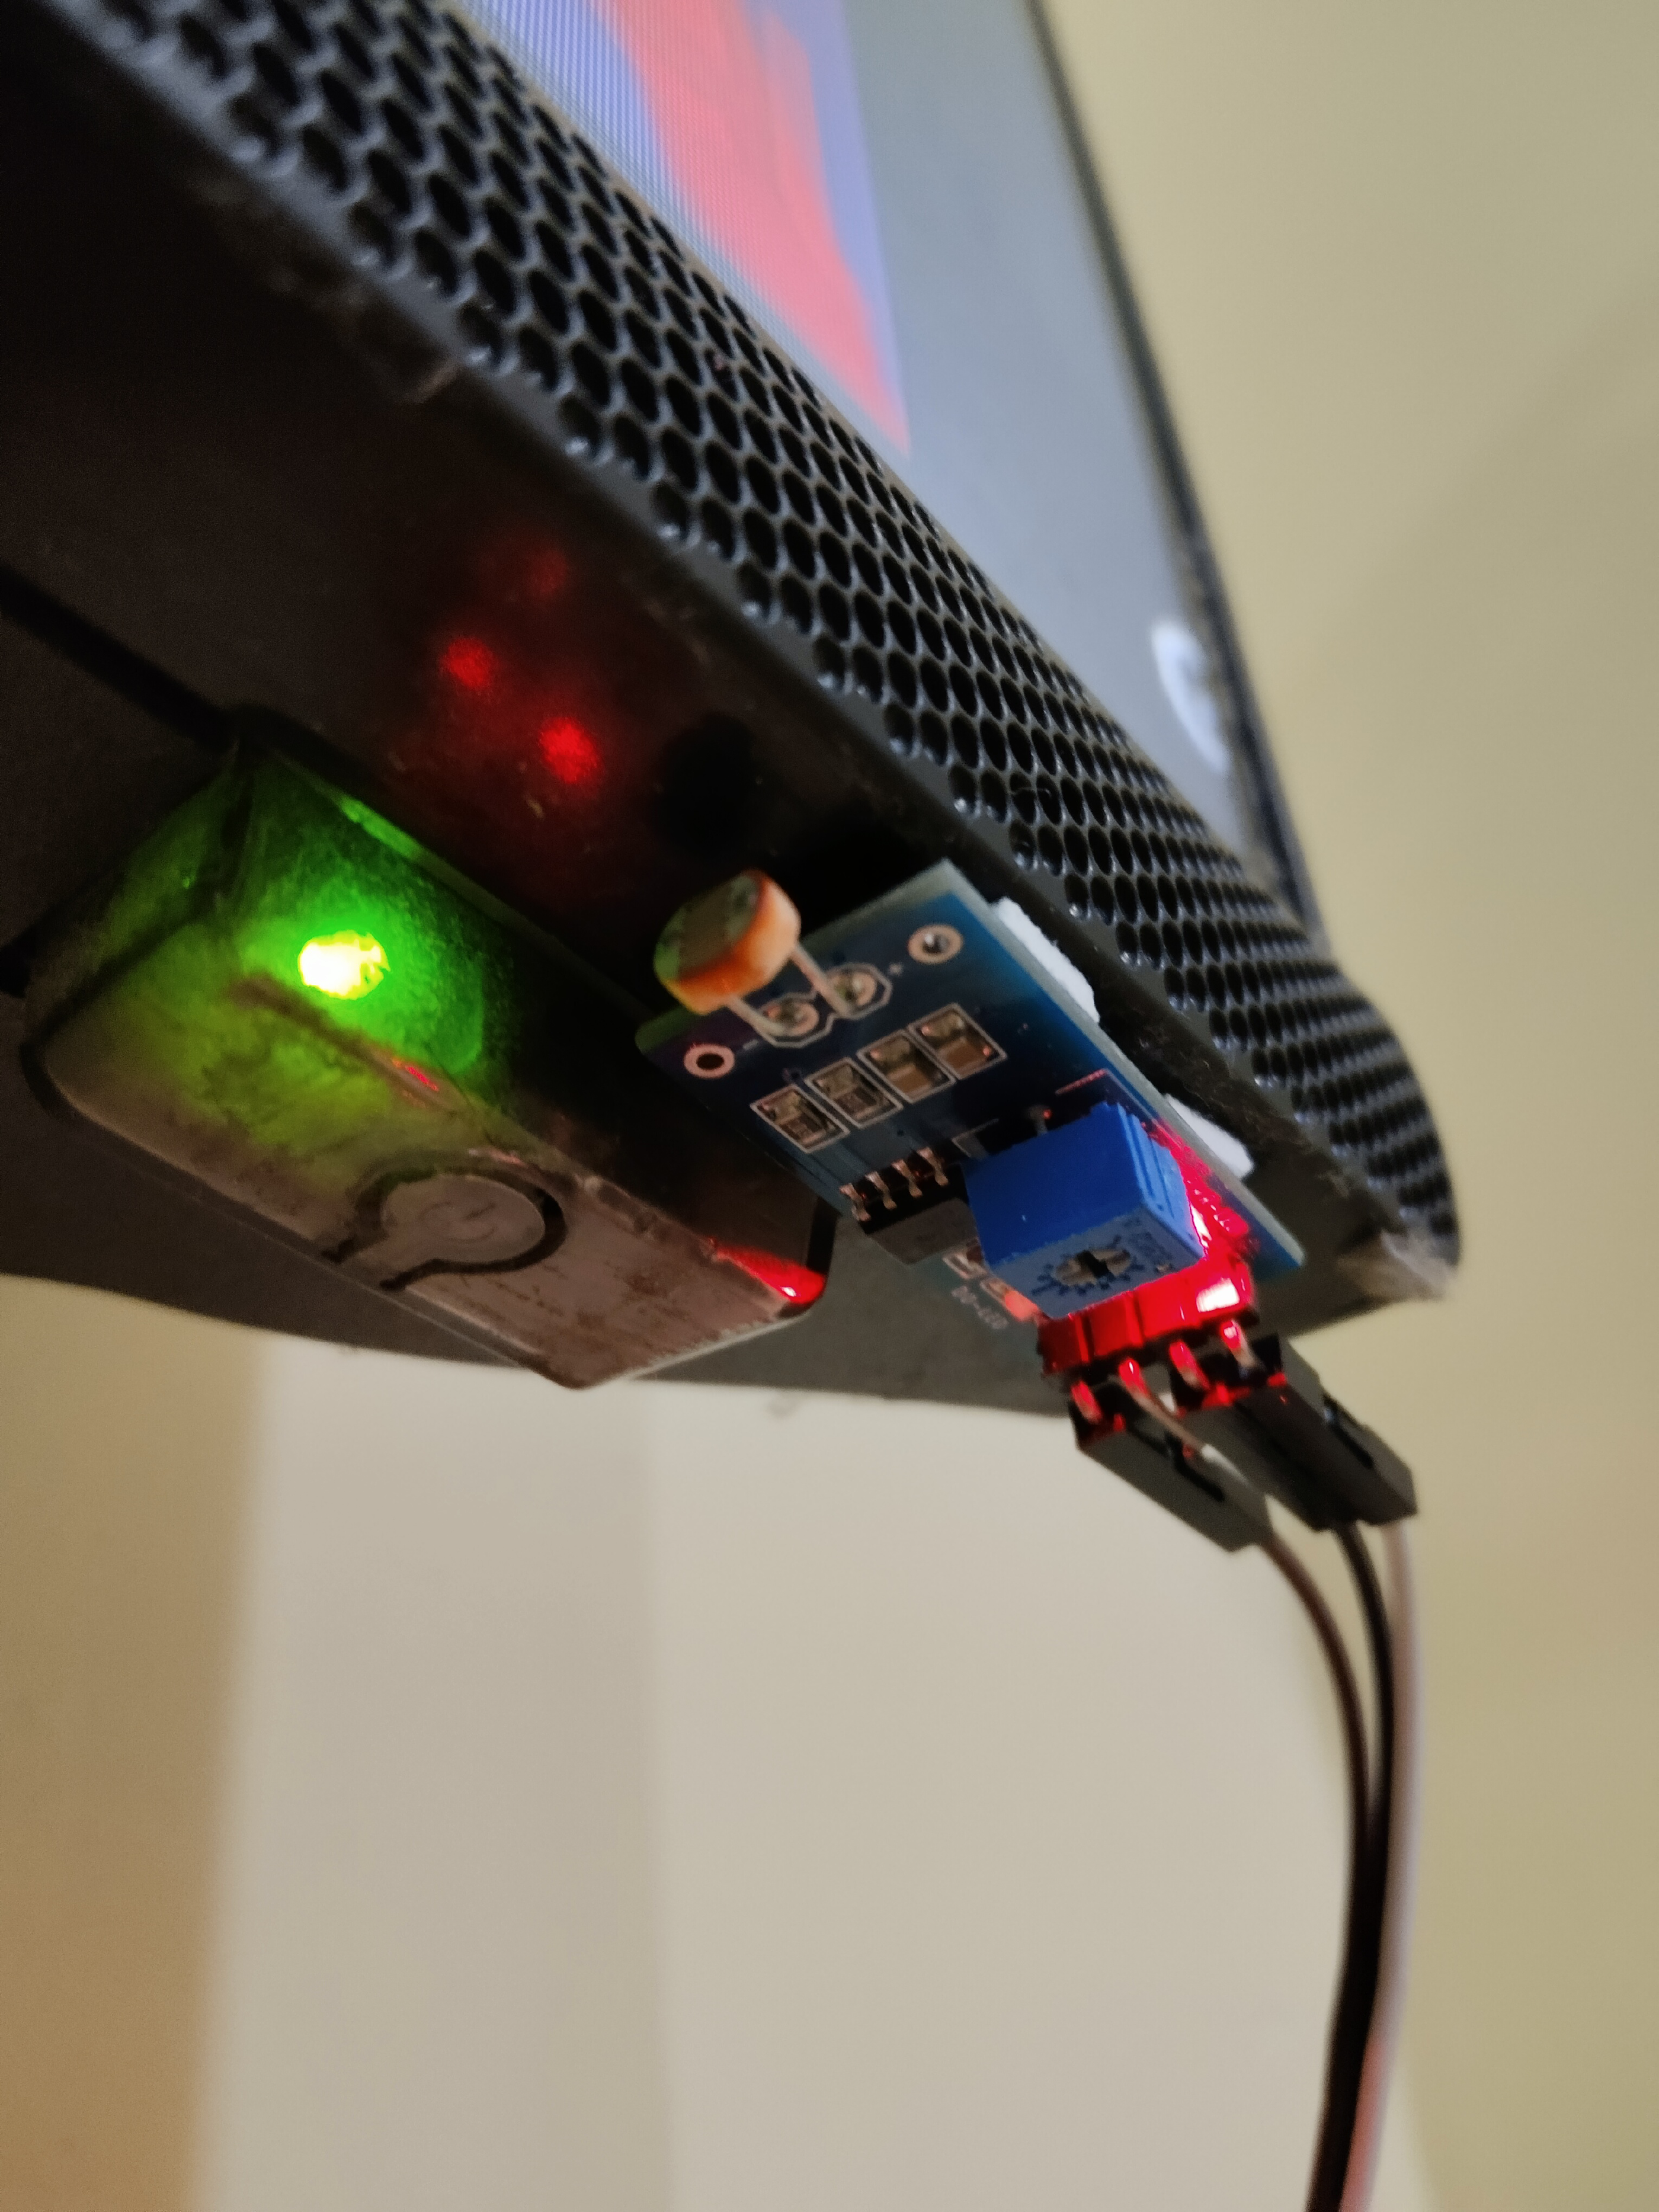
- LDR positioned next to TV’s indicator LED with tape
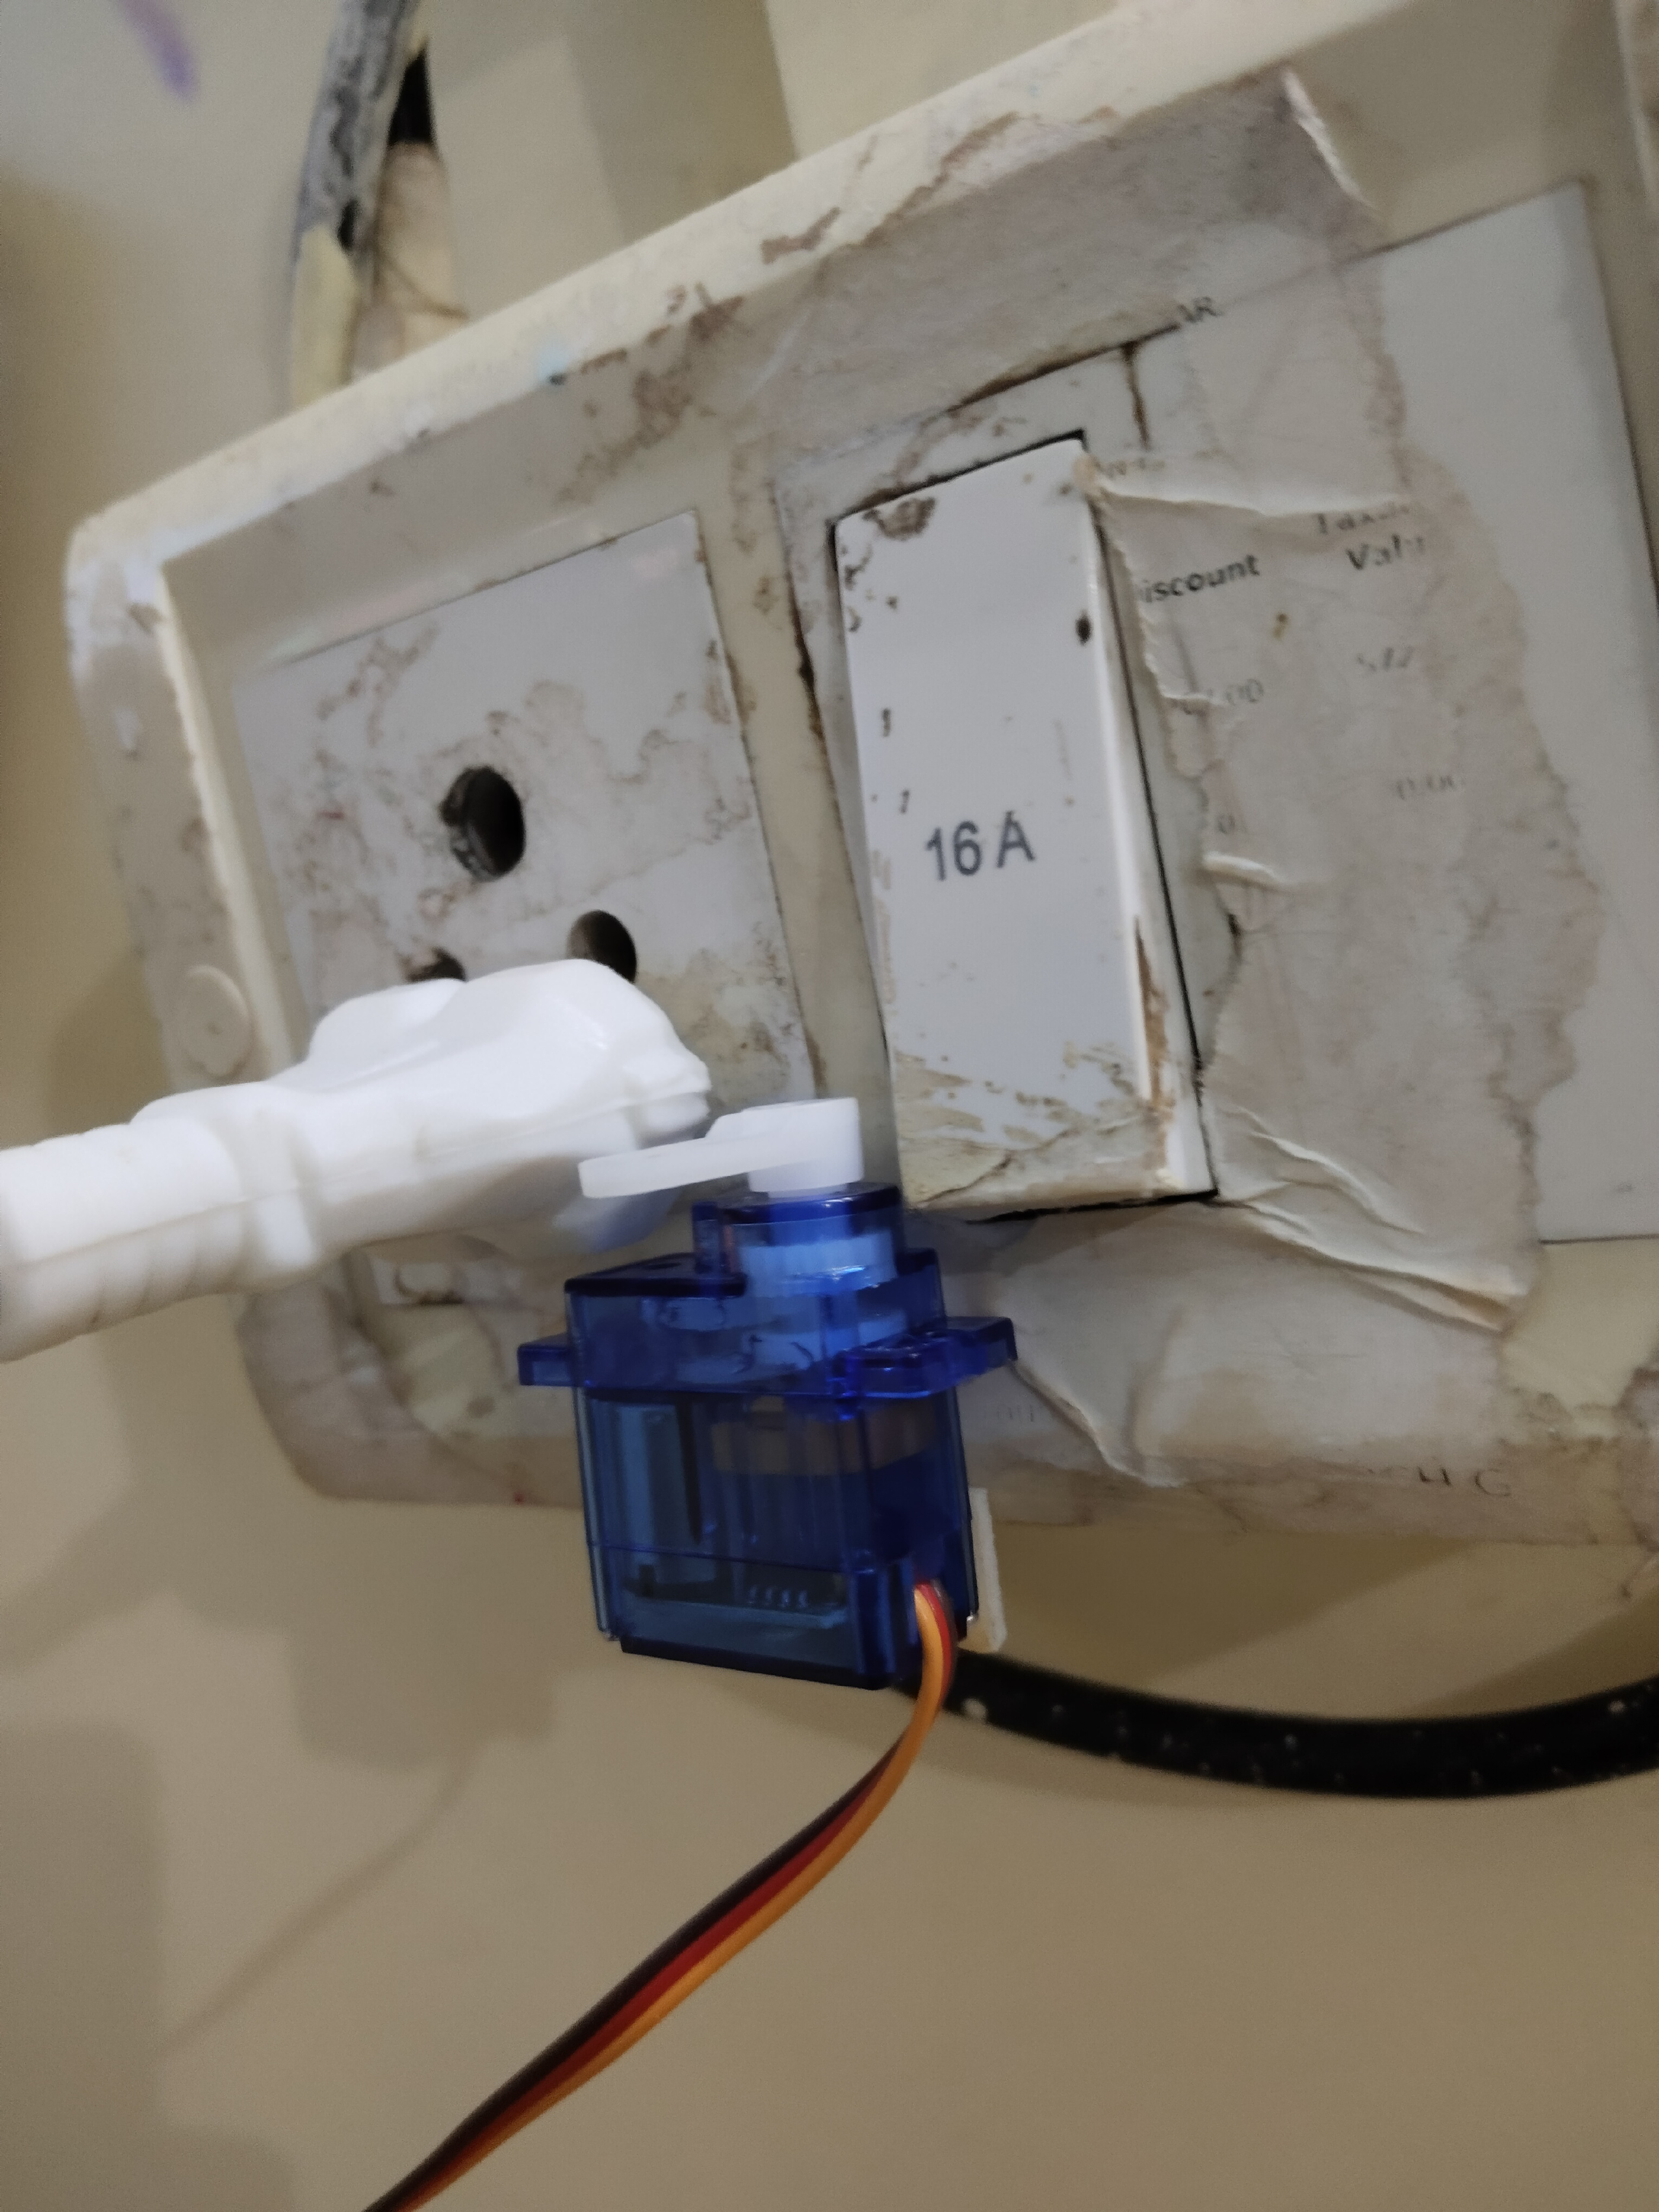
- Servo mounted to fan switch (more tape)
- Wired everything together without Googling “Arduino servo wiring” too many times
The Code
#define ldrpin A0
#define servopin 9

#include <Servo.h>
Servo s;

int x;
int y = 0;
int prevX;

void setup() {
  pinMode(ldrpin, INPUT);
  Serial.begin(9600);
  s.attach(servopin);
  s.write(0);  // Servo starts at 0 degrees (off position)

  delay(3000);  // Give everything time to wake up
}

void loop() {
  delay(1000);  // Check every second

  x = analogRead(ldrpin);  // Read the light level

  if (x <= 685) {  // TV indicator is red (standby mode)
    y = 0;  // Don't turn on fan
  }
  else {
    if (x - prevX >= 170) {  // Big spike in light = TV just turned on
      if (x > 720) {  // Confirm it's actually on, not just flickering
        y = 1;  // ACTIVATE FAN PROTOCOL
      }
    }
    else {  // Just a casual light change, nothing exciting
      y = 0;
    }
  }

  if (y == 1) {
    Serial.println("TV has been turned on!");
    s.write(110);  // Click the switch (110 degrees = perfect click angle)
    delay(500);    // Hold it for half a second
    s.write(0);    // Return to original position
  }

  prevX = x;  // Remember this reading for next time
}
How It Works
TV in Standby (Red LED):
- LDR reads ≤ 685
- Fan stays off
TV Turns On:
- LDR detects light spike ≥ 170 points
- Reading confirmed > 720
- Servo rotates to 110°, clicks switch, returns to 0°
The 8-Hour Build
Hours 1-2: “This will be easy!” (It wasn’t)
Hours 3-4: Servo kept missing the switch. Positioning matters.
Hours 5-6: LDR calibration. Had to wait for proper lighting because waking mom during testing would be scarier than broken servos.
Hours 7-8: Fine-tuning detection algorithm
Result: It actually works!
Performance
The system works about 90% of the time. When I turn on my TV, the Arduino detects the change and clicks the fan switch automatically.
Benefits:
- No more reaching for the switch
- Good Arduino learning project
- Decent conversation starter
- Peak budget engineering flex
Lessons Learned
- Servo calibration is mostly trial and error
- LDR values fluctuate more than expected
- Clone components work fine for budget builds
- Double-sided tape is legitimate engineering material
DIY Guide: Build Your Own
Shopping List (₹300-1000 total)
- Arduino Uno (clone works) - ₹200-800
- LDR + 10kΩ resistor - ₹15
- SG90 Servo Motor - ₹150
- Jumper wires + tape - ₹80
Circuit Connections
LDR: One leg → 5V, Other leg → A0 + 10kΩ resistor → GND
Servo: Red → 5V, Black → GND, Signal → Pin 9
Calibration Steps
Step 1: Upload this code to find your TV’s readings:
void setup() { Serial.begin(9600); }
void loop() {
  Serial.println(analogRead(A0));
  delay(1000);
}
Step 2: Record values for TV off vs TV on
My readings:
- TV standby: 530-650
- TV active: 755-905
- Trigger: 170-point spike
Step 3: Update main code with your threshold values
Mounting
- Position LDR next to TV LED (tape works)
- Mount servo to click fan switch
- Test servo angle (try 90°, 110°, 130°)
- Shield LDR from room lighting
Troubleshooting
- Servo misses switch: Adjust angle/position
- False triggers: Better LDR shielding
- No response: Check connections via Serial Monitor
Conclusion
Did I need this? No. Am I proud of it? Absolutely.
I built a system where my TV controls my fan using ₹500 worth of components and tape. My Arduino has a job, my servo has purpose, and I can casually mention my “smart home system” to visitors.
Sometimes the most unnecessary projects are the most satisfying.
Yash Narang is an engineering student who builds things that work despite having no business working. He specializes in solving problems that don’t exist with solutions that shouldn’t exist. Follow him for more “why did I do this” engineering content.